When installing a split air conditioning (AC) unit on a wall, there are various measures that must be taken to guarantee that the mounting, electrical connection, and installation of the refrigerant line are all conducted correctly. A typical guidance on how to install a split air conditioning unit on a wall is as follows:
Simple Guide on Installing Split Air Conditioner on a internal wall
Select the Location : It is important to select a good spot on the wall where the indoor unit may be mounted in a secure manner. Take measures to ensure that there is sufficient clearance around the unit to allow for adequate airflow and access for maintenance.
Prepare the Wall : When you are ready to prepare the wall, use a level to mark the location of the mounting bracket on the wall. This will guarantee that the bracket is parallel to the wall. In order to mount the bracket in a secure manner, drill holes into the wall at the positions that have been designated.
Mounting the indoor unit : Using the required screws and anchors, attach the mounting bracket to the wall. Ensure that the bracket is affixed to the wall in a secure manner and that it is level.
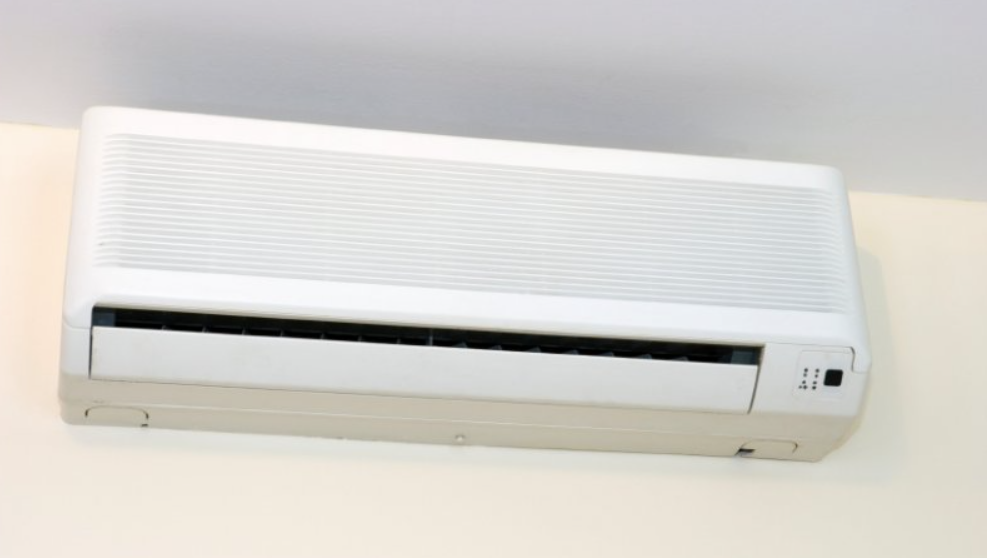
The indoor unit should be lifted onto the mounting bracket, and then it should be secured in place in accordance with the instructions provided by the manufacturer.
Electrical Connection: In order to build a dedicated electrical circuit and outlet in close proximity to the interior unit, it is recommended that you hire a trained electrician first. Local construction codes and safety regulations must be adhered to in order for the electrical wiring to ensure compliance.
Make certain that all of the connections are adequately insulated and secured.
Install the drainage pipe : To accomplish this, you will need to install a PVC drainage pipe that will direct condensation water from the interior unit to an appropriate drain position. By ensuring that the pipe slopes downhill, you can ensure that correct drainage is achieved and that water does not accumulate.
Refrigerant Line Installation : Employ a qualified HVAC technician to install the refrigerant lines that connect the indoor and outside heat and air conditioning systems. It will be necessary for the technician to drill a hole in the wall in order to route the lines of refrigerant between the refrigeration units.
For the purpose of preventing heat loss and condensation development, it is imperative that the refrigerant lines be well insulated.
Mounting the Outdoor Unit: Select a suitable position for the outdoor unit, preferably in an area that has adequate ventilation and adequate clearance for airflow through the space. The outdoor unit ought to be put on a surface that is both stable and level, and the necessary mounting brackets or pads ought to be utilized.
Follow the instructions provided by the manufacturer to ensure that the drain pipe, electrical wiring, and refrigerant lines are all connected to the outside unit. Make sure that all of the connections are fully insulated and properly sealed.
Once the indoor and outdoor units have been installed and linked, the next step is to test the air conditioning system to ensure that it functions correctly at all times. Ensure that there are no leaks, odd noises, or malfunctions in the system.
The indoor unit should have its settings adjusted, and the cooling function should be tested, in order to guarantee that the temperature is controlled and that airflow is distributed appropriately.
Safety and final inspection:
Ensure that all of the components have been placed and fastened in the correct manner by carrying out a final examination of the installation. Examine the electrical connections to ensure that they are secure and in accordance with the regulations.